1.概要
平台集成了 dataease 大屏,本篇描述一下如何运行大屏的操作步骤。
2. 操作步骤
2.1 创建数据库

我们创建 数据库 jpaas_screen
1.先执行创建表脚本
2.在执行初始化脚本
2.2 增加nacos配置
编辑 nacos-config-dev.properties
screen.datasource.url=jdbc:mysql://localhost:3306/jpaas_screen?useUnicode=true&characterEncoding=UTF-8&autoReconnect=true&useSSL=false&zeroDateTimeBehavior=convertToNull&serverTimezone=GMT%2B8

screen.datasource.username=root
screen.datasource.password=root
screen.datasource.driver=com.mysql.cj.jdbc.Driver
screen.datasource.vaildQuery=select 1
2.3 修改 mysql 参数
在mysql 的配置文件 my.ini 中增加
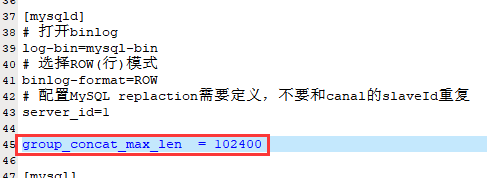
group_concat_max_len = 102400
2.4 运行大屏后端
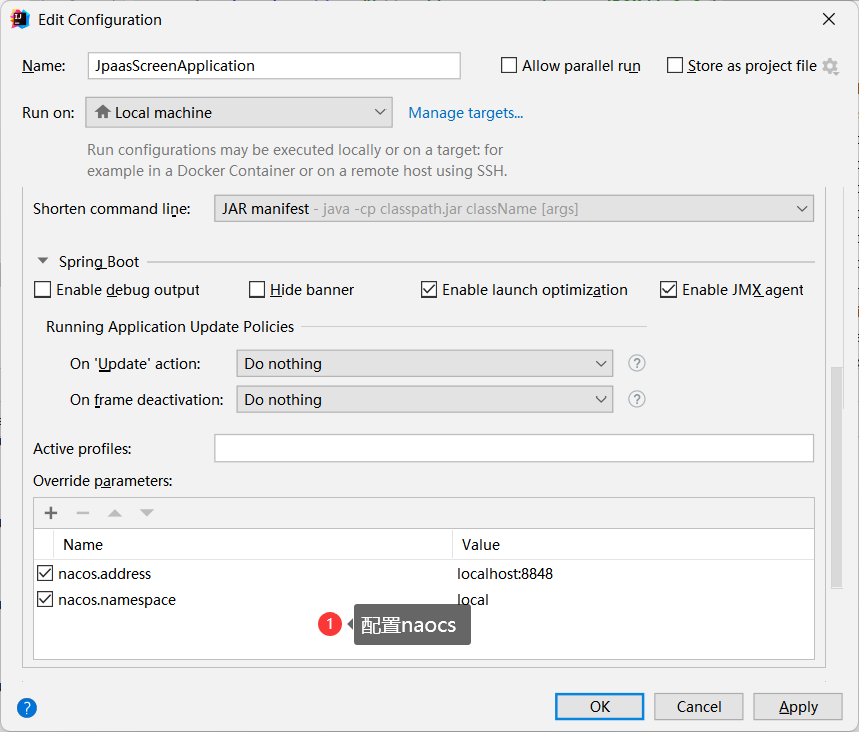
2.5 运行大屏前端
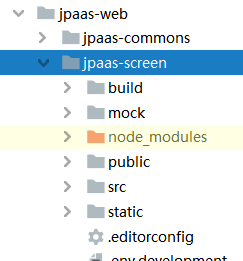
在这个目录下执行安装命令
npm install --registry=https://registry.npm.taobao.org
2.5.1 调试运行
运行前端npm run serve
配置nginx
location /screen {
    proxy_set_header Host       $host;
    proxy_pass http://127.0.0.1:9528;
}
2.5.2 编译运行
npm run build
配置nginx
location /screen {
       #proxy_set_header Host       $host;
        #proxy_pass http://127.0.0.1:9528;
        alias   D:/work/dev/jpaas_sources/jpaas-web/jpaas-screen/dist;
        index  index.html index.htm;
        try_files $uri $uri /screen/index.html;
}
2.7 大屏菜单配置
| 菜单名 | URL |
|---|---|
| 仪表盘 | /screen/#/panel/index |
| 视图 | /screen/#/chart/index |
| 数据集 | /screen/#/dataset/index |
| 数据源 | /screen/#/datasource/index |
2.8 查看大屏
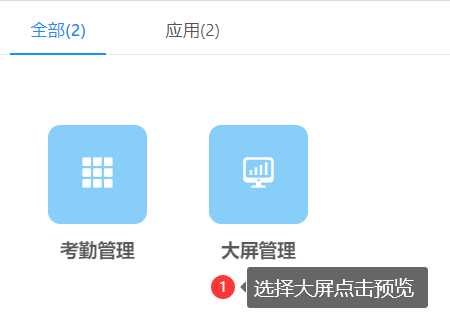
点击配置数据源
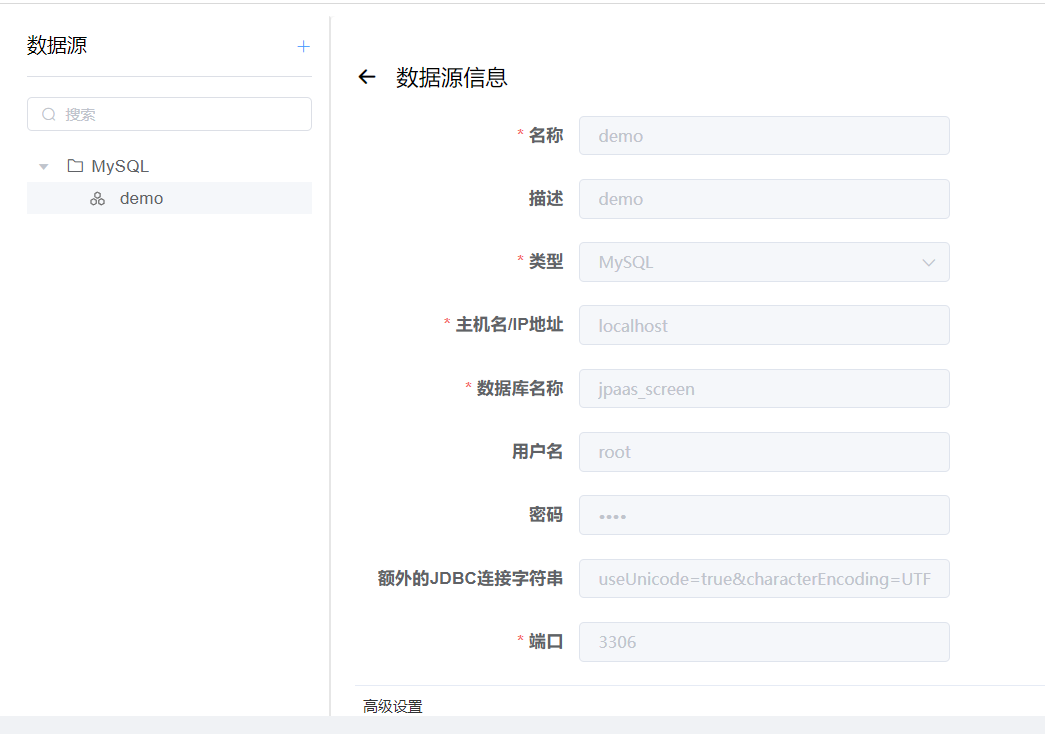
按照实际情况进行配置修改。
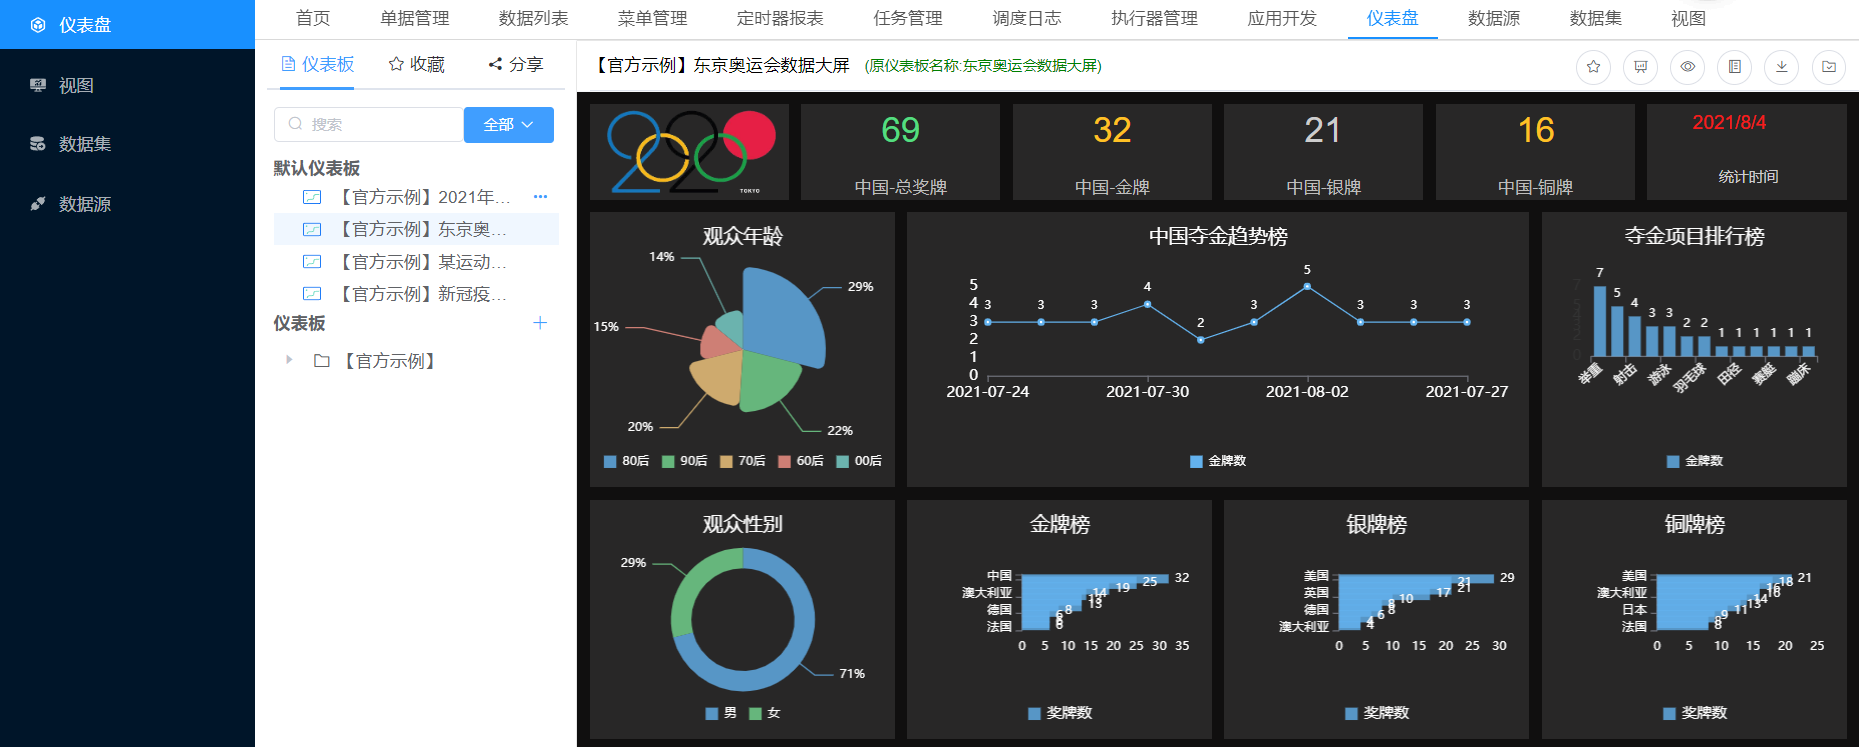
正常的话,我们就能使用大屏功能了。
文档更新时间: 2022-06-07 09:47 作者:zyg
